Of all my Christmas Crafts this year, this is by far one of my favorites.
What you'll need:
Ribbon, however many styles or colors you choose
An open Frame, larger works best for this project
Staple Gun and/or Hot Glue
Wooden Letters, if so desired
Marking Pen, Scissors, Tape Measure
The finished project:
Your Ribbons of choice.
Measure out the ribbons and cut them, decide how many rows you want to make.
Measure down the side of the frame and make a small mark so you know where to staple it down.
Staple gun TIME!
I added hot glue to secure my ribbons after the staple gun. The frame I had didn't take the staples too well.
Remember, all of this work is going on the back of the frame. Trim up the edges of your ribbon.
TA-dum! Almost there...
I used some of the ribbon to make a matching bow for the upper corner, just to add some flair.
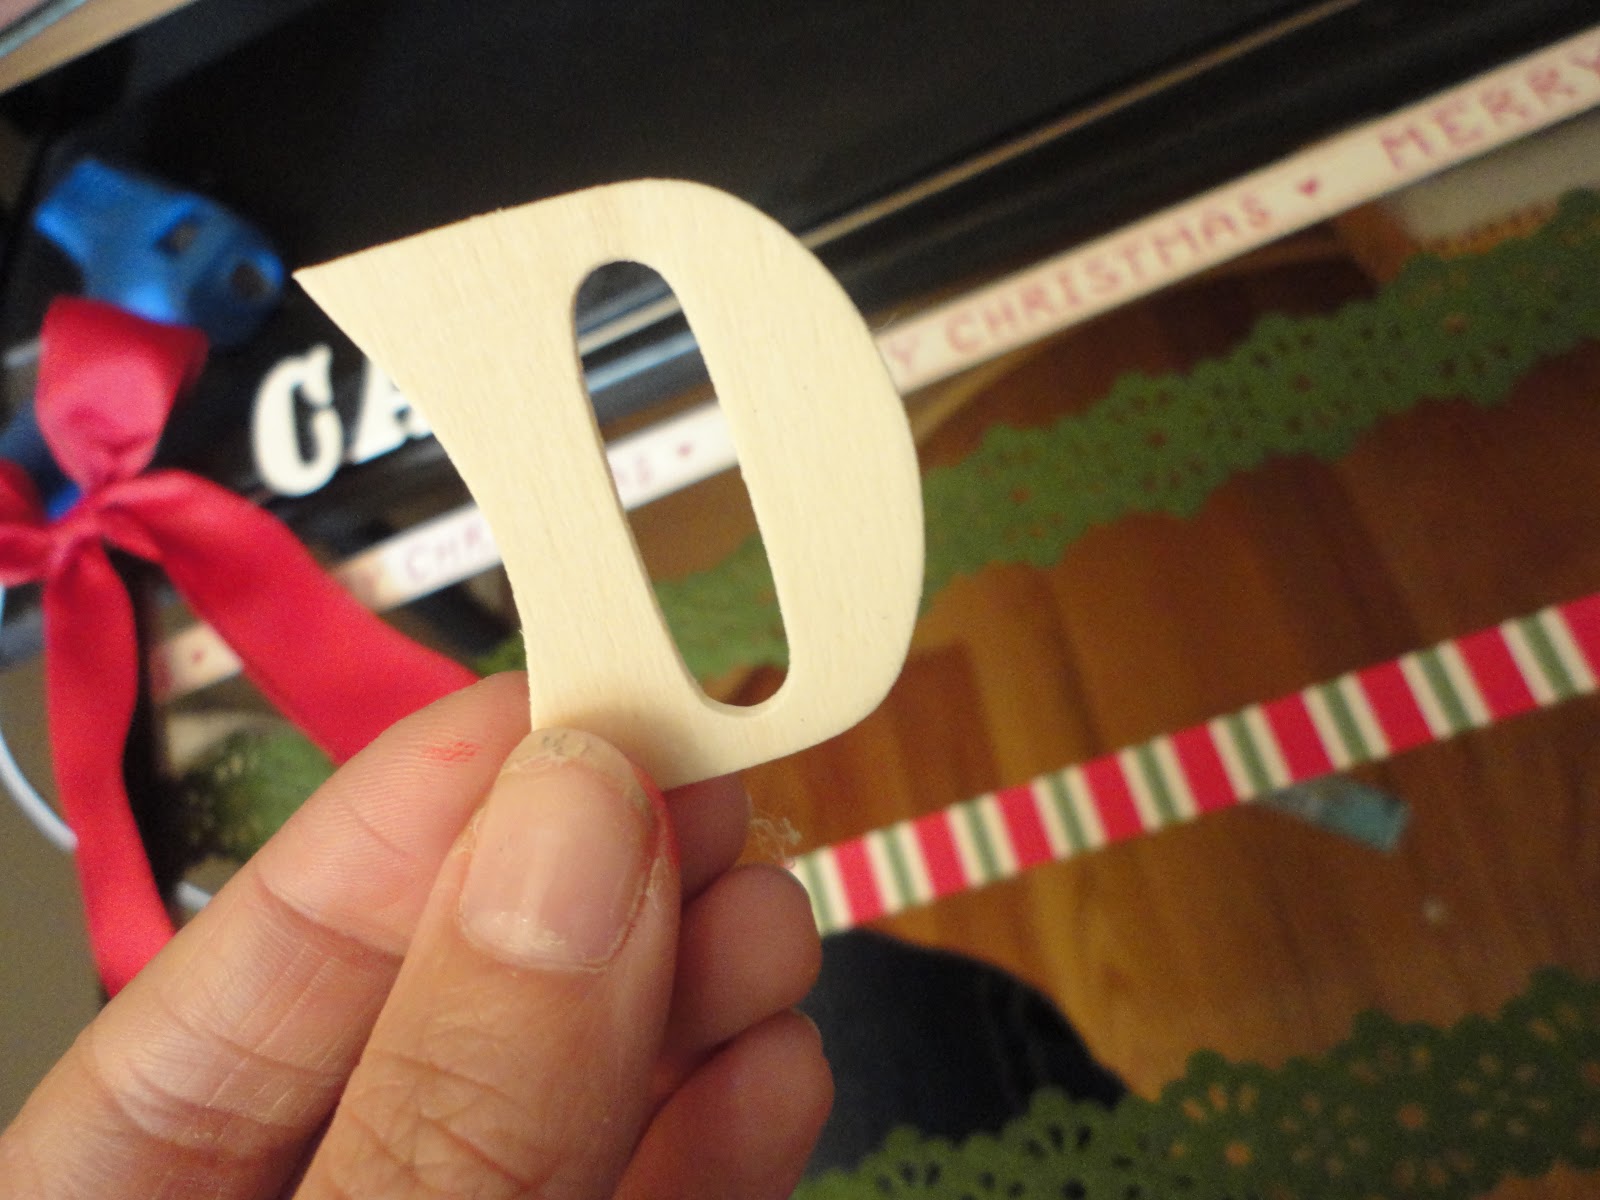
These wooden letters come in a tub of hundreds, they are small and wooden. I got them at Hobby Lobby of Michaels, in the wood section.
Hot Glue them to the front of the frame, you can paint them if you'd like. I preferred the unfinished wood look for this project.
And now you're done! A very inexpensive, yet delightful Holiday Card Display!
It's all in the details...
Merry Chirstmas, now don't forget to send me a card to hang on this lovely rack!
It'll work great for both photo cards or regular cards.


this looks genius! It is very nice and beautiful!
ReplyDelete